Showing posts with label 2nd grade. Show all posts

Monday, June 4, 2012

Ohio Artists

I am not from Ohio.  So, when I read the Ohio Visual Arts Standards (what we need to teach the kids), one of the items was to teach about an Ohio artist.  All that I could think of was quilt makers and Amish artists.  I knew that there had to be much more to Ohio than that!
I contacted fellow Ohio art teachers - a few led me to Aminah Robinson.  Then I contacted the Columbus Museum of Art.  They also let me to Aminah Robinson.  After much research, I settled on the following lessons for your youngsters!  I love when I learn as much as the kids.


Kindergarten - Jim Dine One Heart

Here are a few examples.  You can see more artwork at our Artsonia exhibit here:
http://www.artsonia.com/museum/gallery.asp?exhibit=516651&index=0
Student Artwork
Jim Dine Artwork
Student Artwork


1st Grade - Jim Dine, 4 Hearts with Warm and Cold Colors

Here are a few.  You can see more artwork at our Artsonia exhibit here:
http://www.artsonia.com/museum/gallery.asp?exhibit=524980&index=0

Jim Dine Artwork
Student Artwork
Student Artwork


2nd Grade - Roy Lichtenstein Action Words

Here are a few examples or Student Artwork.  You can see more at our Artsonia exhibit here:
http://www.artsonia.com/museum/gallery.asp?exhibit=519059&index=0
Lichtenstein Artwork

Student Artwork
Student Artwork


3rd Grade - Aminah Robinson Love Letters

For this lesson, I created a webquest.  Check it out here:
http://questgarden.com/142/06/5/120405141330/index.htm
Here are a few examples.  You can see more at our Artsonia exhibit here: 


4th Grade - Aminah Robinson Music Box

Here are a few examples.  You can see more at our Artsonia Exhibit here:
http://www.artsonia.com/museum/gallery.asp?exhibit=522888


Visual Arts Community Unit

As I continue to take more college courses, I continue to gain more knowledge to use in the classroom with my kiddos!
Check out the Wiki that I created for my current college class.  This Wiki discusses my Visual Art Community Unit.  It's a unit that I've taught many times, but I've added a 21st Century teacher spin on it.
The Wiki can be found here:
http://m4ney.pbworks.com/w/page/54017604/Visual%20Arts%20Community%20Unit


A You Tube video discussing the Wiki can be found here:

Saturday, April 7, 2012

Masks

My students are currently learning about masks.
 We began by watching a Movie about Masks.  I created this movie during my Graduate Technology class.

Mask Movie


Circle Mask with Feeling
1st grade students created Circle Masks.  Using paper plates, they were asked to emphasize facial expression.

Orange Bird Mask

Bird Mask with Horns

Pink Bird Mask

2nd grade students created Bird Masks.  Using paper and found objects, they were asked to keep masks symmetrical.

Red and Orange Echo Mask

Purple and Yellow Echo Mask

Pink and Yellow Echo Mask
 3rd and 4th Grade Students created Echo Masks.  They followed step by step directions in the beginning.  This helped them to create eyes, nose, and mouth.  Paper was folded to keep the design symmetrical.  Found objects were added for design.

Friday, February 24, 2012

Pinch Pots

Our 2nd and 3rd Grade students are creating Pinch Pots from clay!
For this lesson, we began by talking about the properites of clay.  How is it different than Play-doh?  Where does it come from?  Then we talked about what we can do with clay.  Do we throw it?  Do we roll it?

As part of many art lessons, we learn about the history associated with the lesson.  For this lesson, we discussed Greek Pottery.  Greek pots were functional in purpose.  They could not buy pots and bowls at Wal-Mart so they needed to create their own.  We looked at a few ancient Greek pots for examples.
Pottery with Red Figure
Pottery with Black Figure


We then moved on to the creative process in art.  The students began by exploring the clay.  They rolled the clay into a ball, flattened it into a pancake and became familiar with it's properties. We then began to make our Pinch Pots.  I asked the students to pay particular attention to the thickness of the walls of their pots.  The walls should be as thick as an eraser or as an Oreo cookie.  The students then used a wooden tool to draw decorations on the side of their pot and finally to write their name on the bottom of their pot.
These are pictures of just a few of our many pinch pots

3rd Grade Pinch Pot

3rd Grade Pinch Pot 
Tray of Leatherhard Pinch pots
The pinch pots dry for 2-3 days from a leatherhard stage to a greenware stage.  The pots are then fired in our Kiln.  They "bake" in the kiln for about 8 hours and reach a temperature or about 2,000 degrees Farenheit.  When they are removed from the kiln, they are considered bisque ware.
These are some pictures of bisque ware pots:


Pinch Pots that have been fired in the Kiln


Bisqueware
 The Pinch Pots are then painted with a glaze.  The students were permitted to pick one color for the glaze as the colors run together.
Painting the pinch pots

The pots are then set to dry for one more day.  When the glaze is dry, they are put into the Kiln for another firing.  Then are fired to Cone 06 again.
Bisqueware painted with Glaze


Pots painted with Glaze


Finally the Pinch Pots are placed back into the Kiln to fire again for about 8 hours until they reach "Cone 06" temperature.  This is the finished product:


Bright Blue Glazed Pinch Pot


Pinch Pots


Pink Glazed Pinch Pot

Purple glazed Pinch Pot


Thursday, February 16, 2012

Printmaking

Our students have just finished a lesson on Printmaking.

1st grade students created patterns with styrofoam incised plates.  We discussed basic symbols as well as how to make an "A B A" pattern.

2nd grade students created animal pictures.  We used animal models to learn how to draw an animal figure.  After creating 4 sketches, the kids choose their favorite animal drawing.  They then transferred their drawing to a Styrofoam plate and created a series of prints.

3rd grade students created monogramed cards from printing with styrofoam incised plates.  They were given the option to use their cards for Valentines day, thank you cards or any other idea.

4th grade students began a unit on architecture.  We discussed Frank Lloyd Wright then designed their own building. Finally, they created a series of prints with their Styrofoam incised plates.
Here are a few examples of artwork created in the 4th grade classes.


As part of my current Graduate school class, I created a Glogster to show the students about Printmaking.  Thankfully, I have a gorgeous projector in my classroom that is connected to my computer.  This gives me the capability to project this Glog onto the white board in the Art Room.

You can see the Printmaking Glogster here:


http://m4ney.edu.glogster.com/printmaking/?


Tuesday, December 6, 2011

Weaving

It's weaving time!  Because I travel to 2 different schools, I'm attempting to create lesson plans that contain the same medium.  A few weeks ago was weaving - yarn and paper.
Kindergarten wove a few simple pieces on a Monster

1st Grade is weaving paper strips in an "AB" Pattern

2nd Grade is weaving fabric strips also in an "A B" Pattern.

3rd Grade is Circle Weaving similar to those found in Navajo Weavings.


Mrs. Forney's Circle Weaving

Student Weaving

3rd Grade Student Weaving

3rd Grade Student Circle Weaving with tassles


4th Grade is creating a tapestry weaving from yarn.
4th Grade Tapestry Weaving

Mrs. Forney's Tapestry Weaving


Wednesday, October 5, 2011

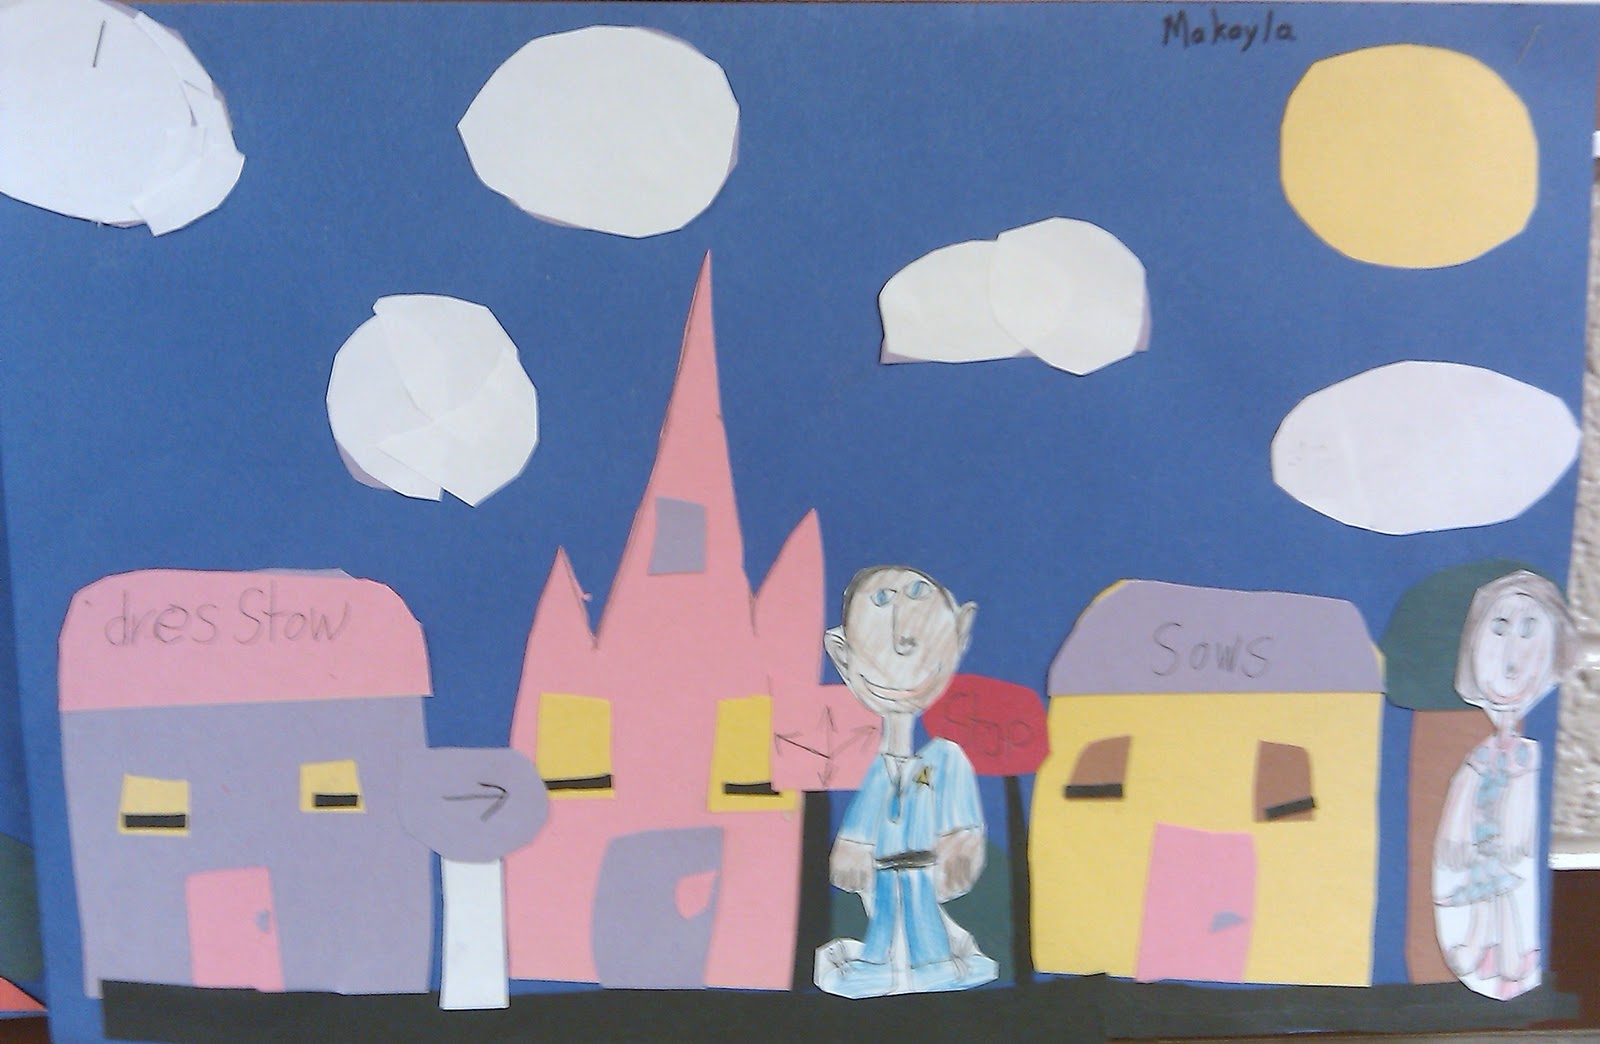
2nd Grade Community Collage

It all started when a 2nd grade teacher asked if I had any ideas about lessons for community.  After searching through the Crayola website and looking at lessons from the Metro-Nashville Public Schools art curriculum, I decided upon Community Collages.

We started by discussing Philip Evergood's Sunny Side of the Street and Allan Crite's Parade on Hammond Street.
We then discussed the things we see in our Community - police stations, schools, apartments, houses, fire stations, stores, etc.
Students were given a blue piece of paper.  We discussed proper cutting and gluing skills along with proper collage techniques.
The students then created buildings.  They added details such as doors and windows.  Then they began to add additional details such as trees, signs and bushes.  Finally, we used colored pencils to draw people that we would see in a community.  They cut out the people and glued them into their community collage.
Here are some of our final artworks:


 Please take a moment to visit our Communities.  They are on display outside of the art room and the cafeteria.  Enjoy!